With the first batch of ST4 casings in production, we had time to make a photoshoot of the current, pre-final, model. As you can see, it’s easy to remove the lid and keep it opened up for maintenance.. Almost like a car 😉
The first batch is expected to be delivered to us mid November..
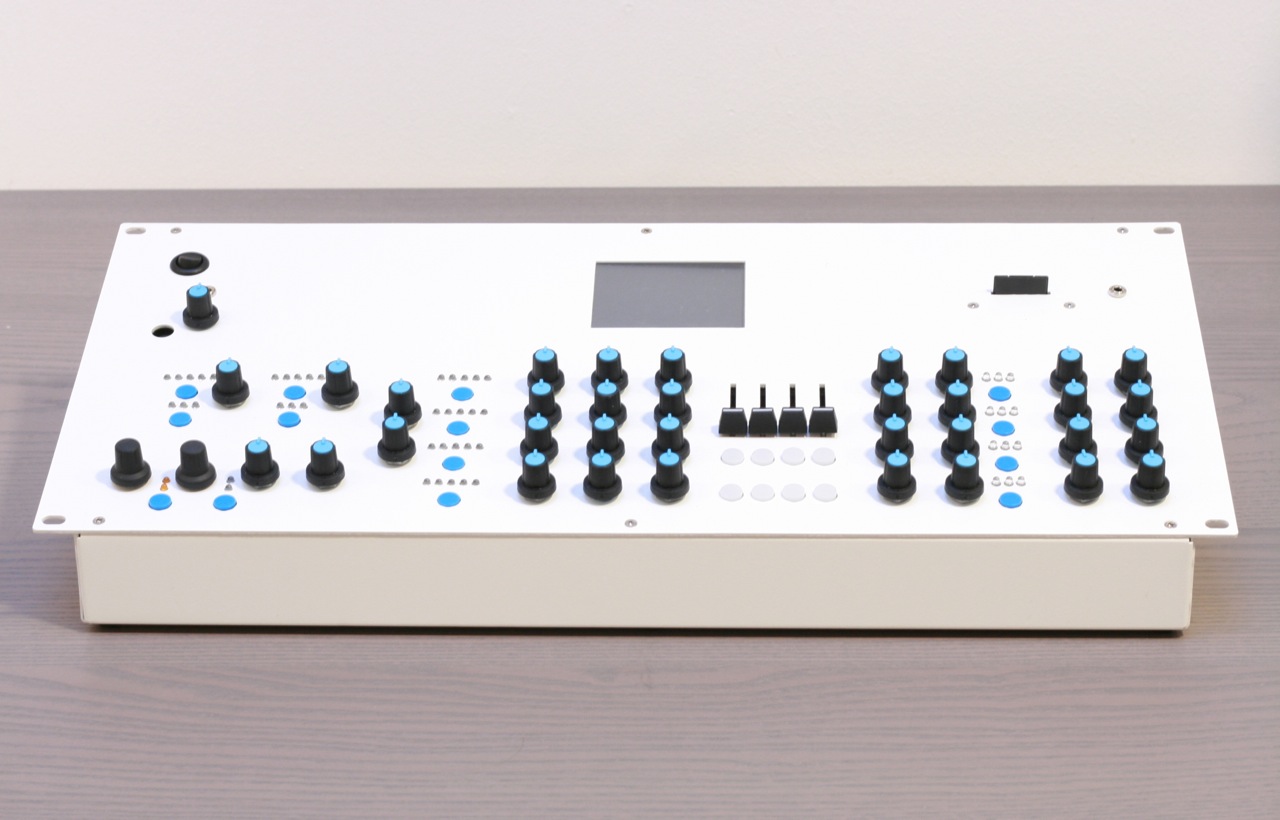
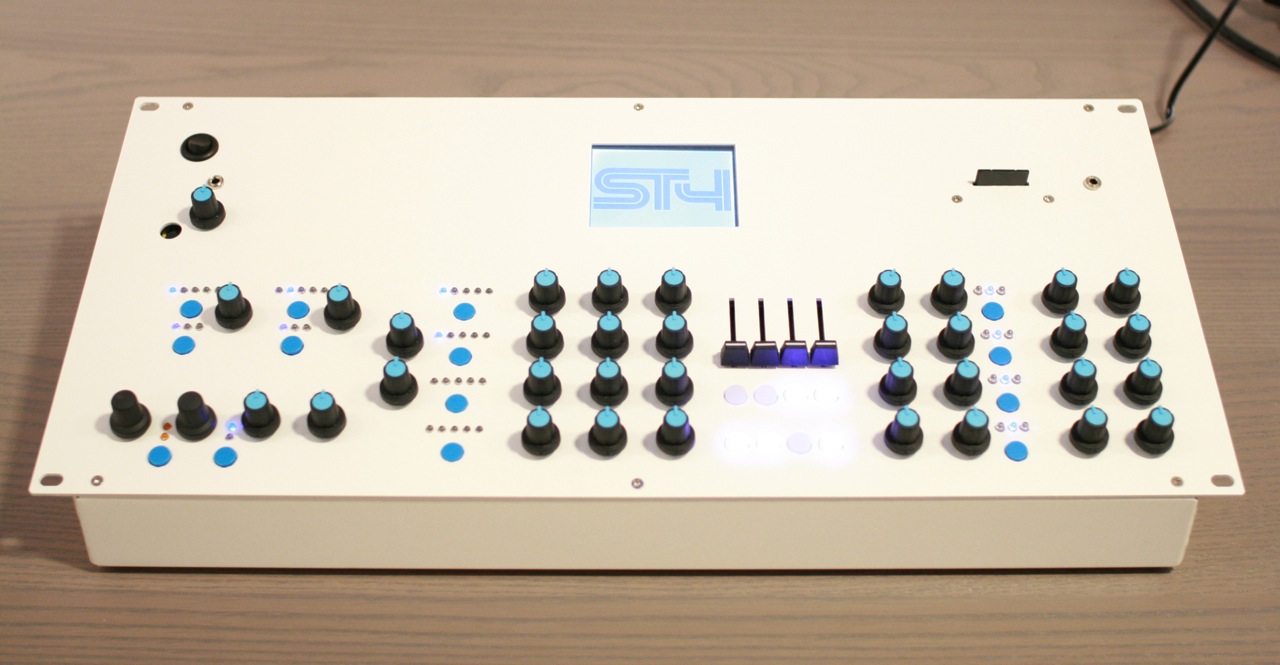
Front view, power off.
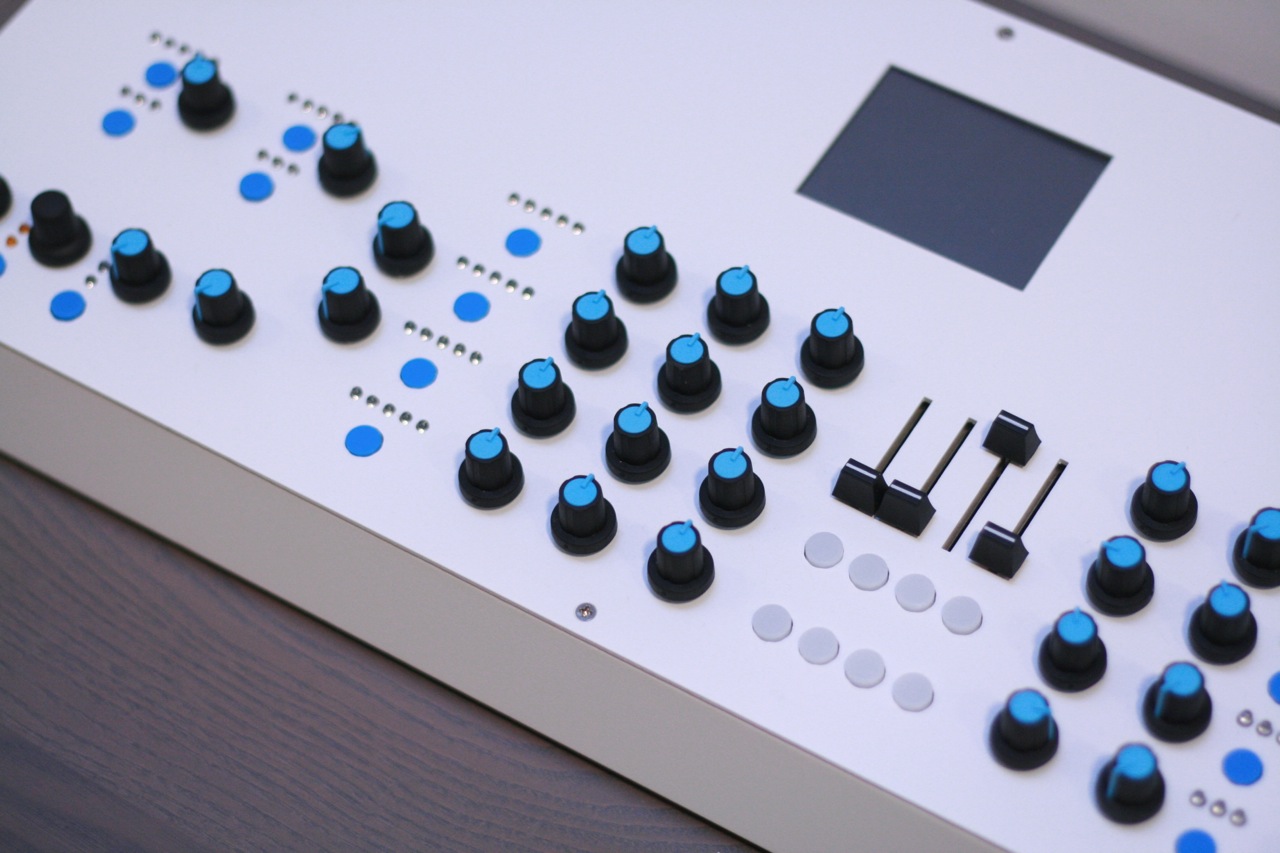
The obligatory diagonal angle shot.
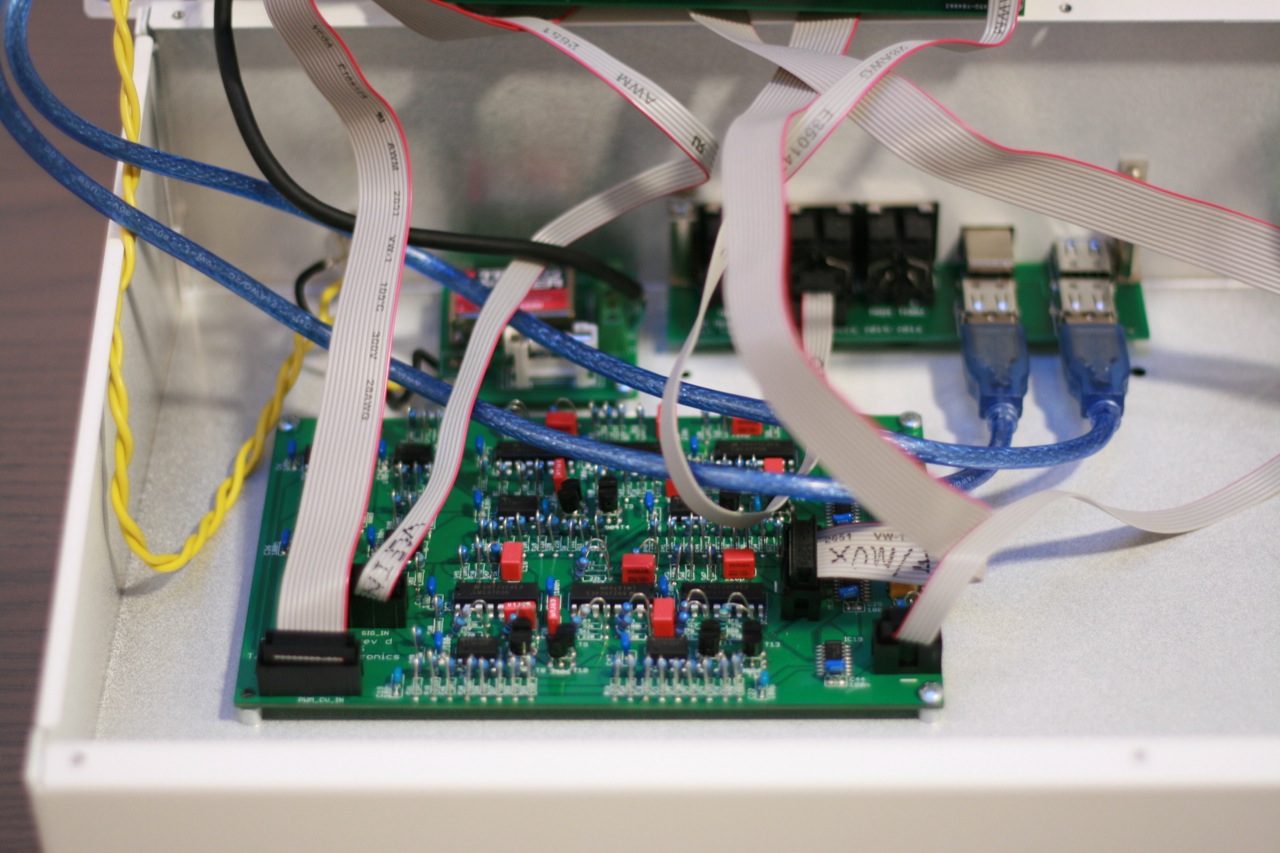
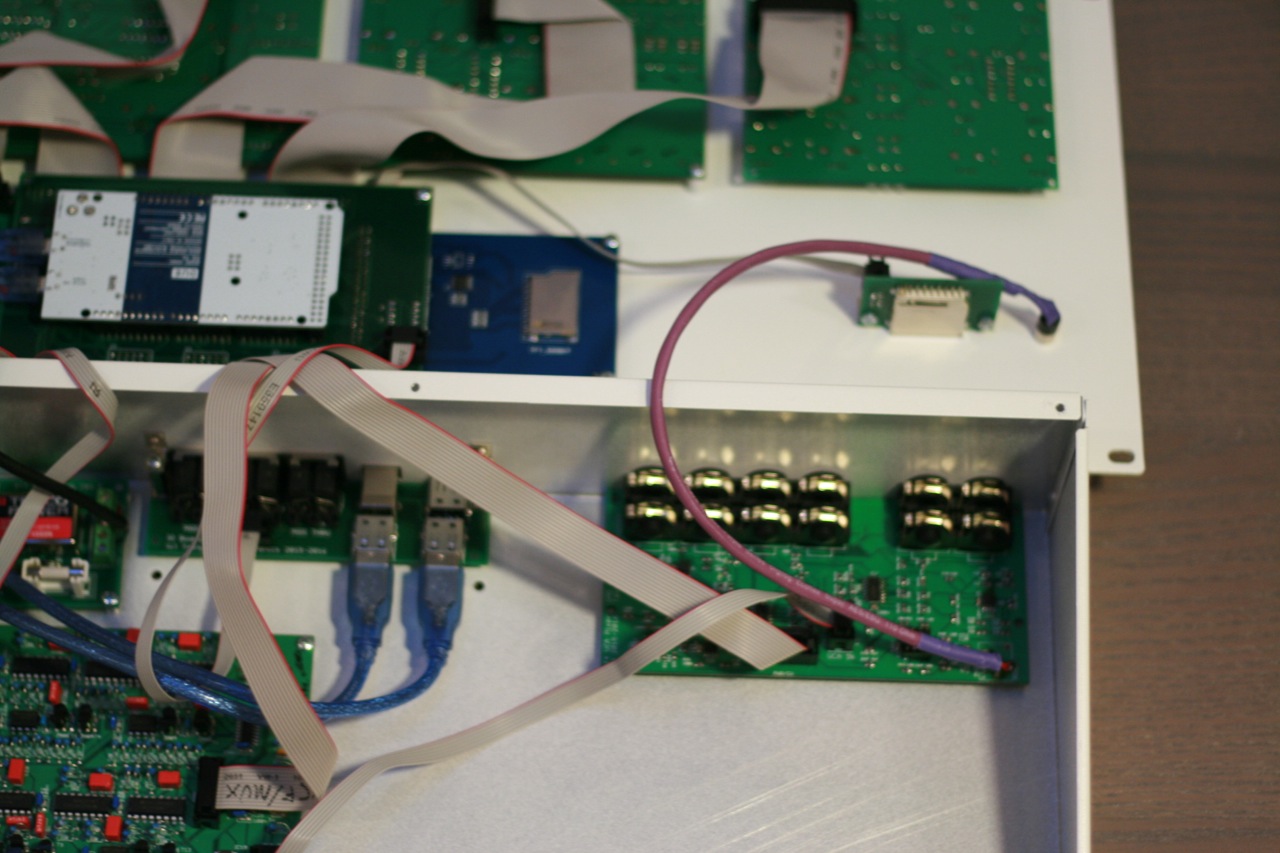
ST4 opened up, looking at the bottom plate. VCF board (large PCB in front), IO board for MIDI and USB, power board (with the Traco DC/DC converter).
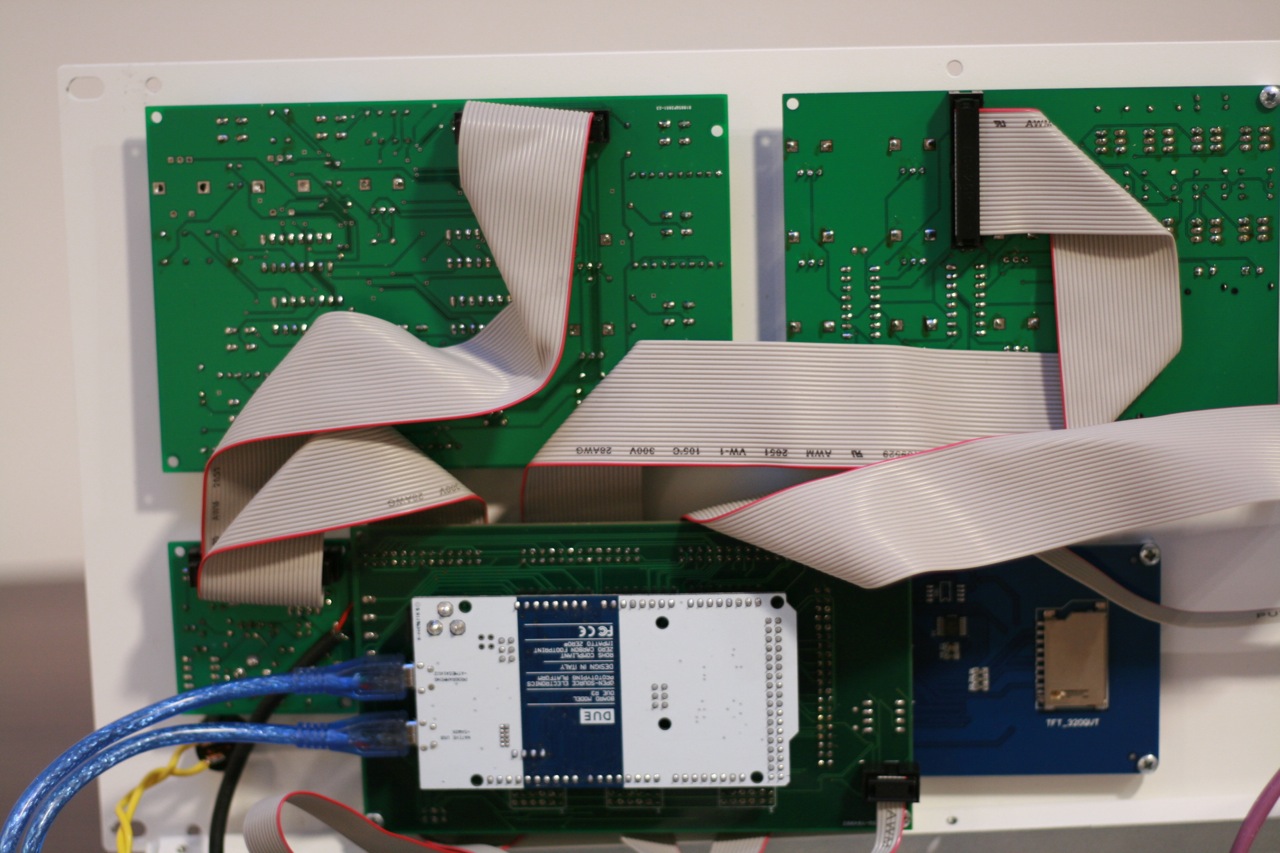
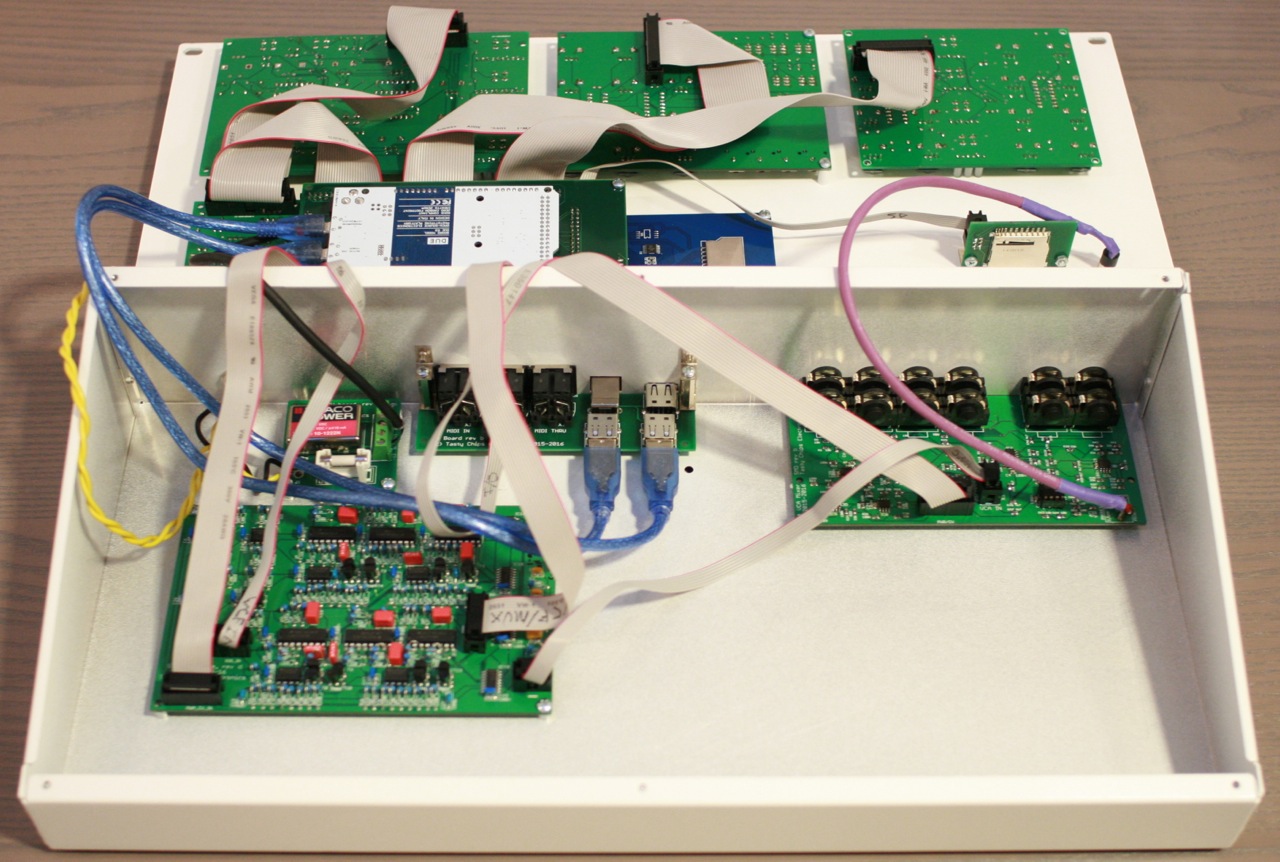
Backside of the lid. Control boards, Arduino DUE, part of the LCD display, Mic board (lower left corner).
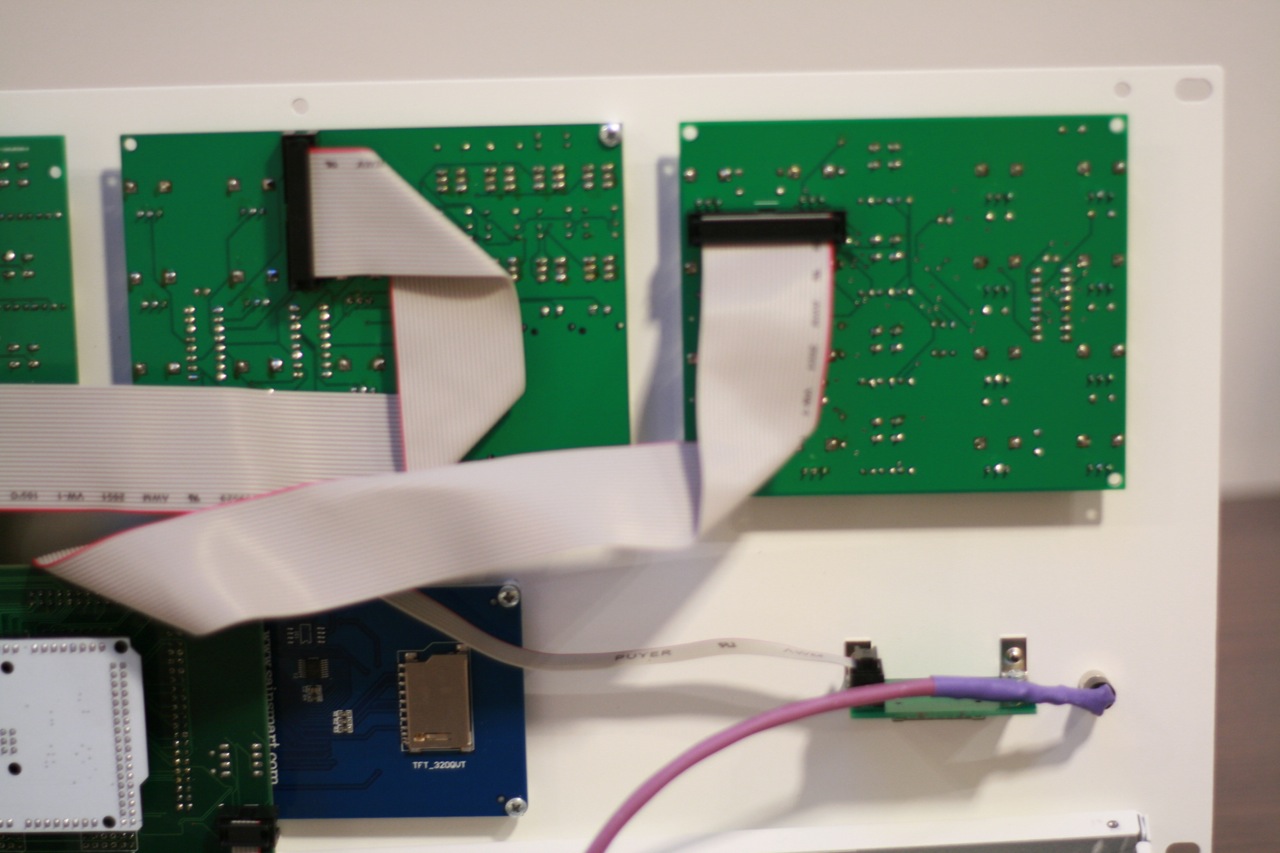
Backside of the lid. Control boards, DUE, part of LCD display, SD card board, and headphone wiring.
Part of bottom and lid. The PCB with all the phono sockets is the VCA board.
Opened up the hood.
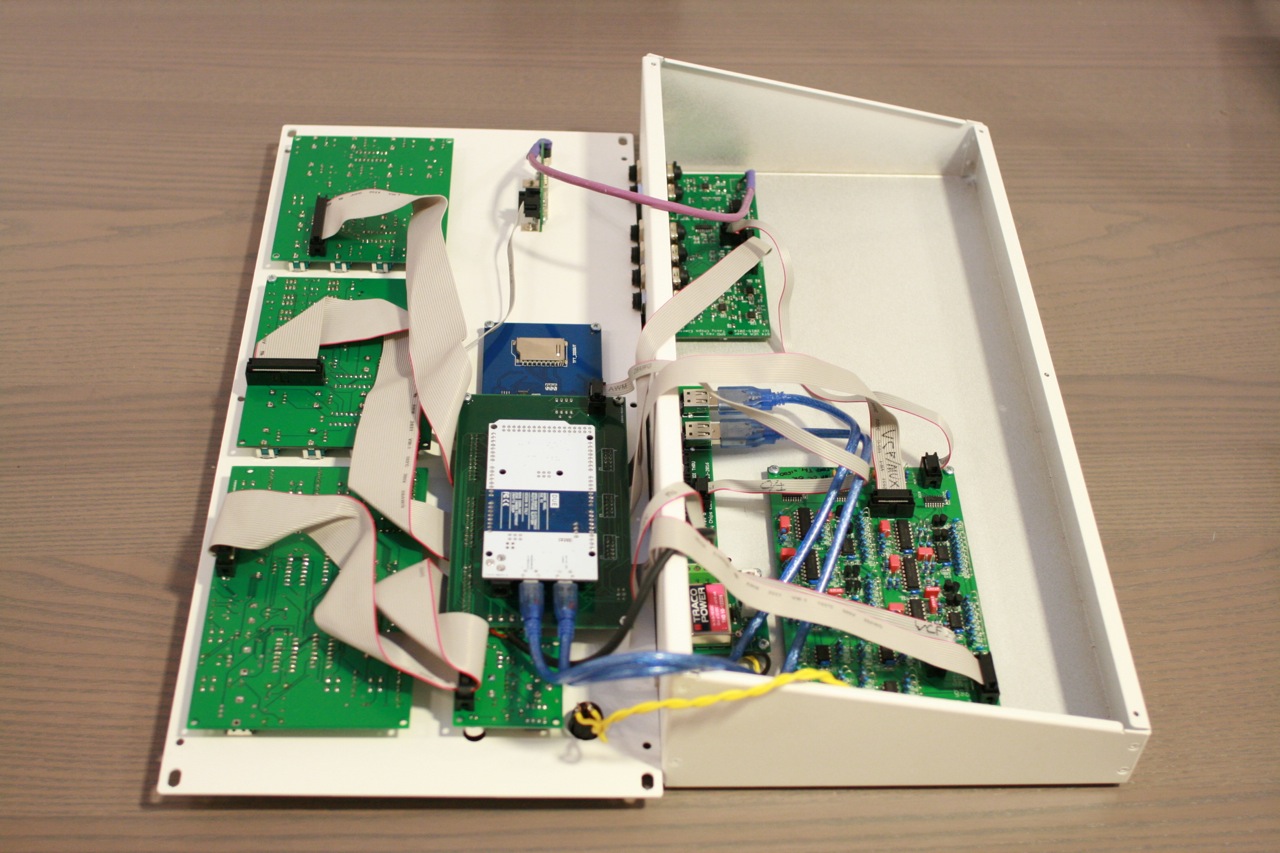
As you can see the lid comes off nicely and can comfortably rest on the table. No cables have to be detached.